Things are going extremely quickly now that we are putting things back in instead of stripping and demolishing!
First the sink cabinet. We decided to take the icebox out of there and replace it with drawers. Why? Well, the new coolers are much more efficient and it would give us more room to store kitchen essentials. I was a bit torn by the decision. I liked the old school ice box..but it wasn't the most practical thing in the world and like I said, it didn't use space very efficiently.
So here is the frame..
the brand new faucet..
and the almost finished product (I'll take a picture of the finished products with knobs and all soon):
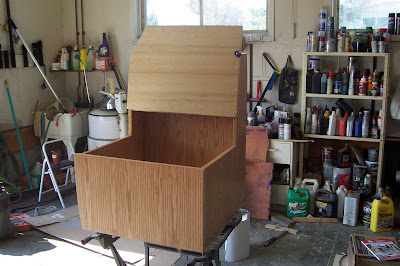
Next we worked on the overhead rear storage...
It took a lot of fine tuning to try to match the ceiling curve...
The finished stained product:
We didn't install it yet but I will take pictures once we do!
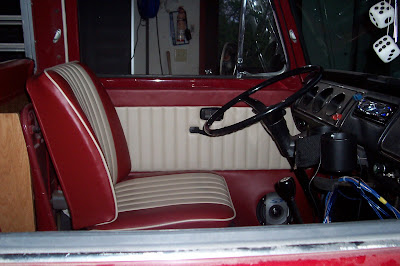
Last but not least, we got the panels back from Jerry and installed them. I think they turned out really well...and the speakers sound amazing.
Before:
And after!
This is the sliding door panel (you can catch a glimpse of the sink cabinet too!)
Also..here is the material we got for the curtains. I will go see my godmother this weekend to get those started. I'm still not sure if I should make them so that they are only attached at the top or if I should run them through a bar at the bottom as well. Hmmm... anybody have tips?